How to Avoid Common Mistakes as a Beginner Stargazer
My passion for stargazing started on a 30-day backpacking trip with friends through Escalante National Monument. Each night, after long days of hiking through the desert, we’d pull out a night sky book and try to identify new stars and constellations. Lying in our sleeping bags, we watched the stars slowly move across the sky, talking and pondering the vastness of space. Those late nights sparked my love for the night sky that has stayed with me for over a decade. Since then, stargazing has become a way for me to connect with nature, friends, and the immense beauty of the universe.
Over the years, I’ve learned how to make stargazing an enjoyable experience while avoiding common beginner mistakes. If you’re just starting out, here’s what you need to know to make the most of your nights under the stars.
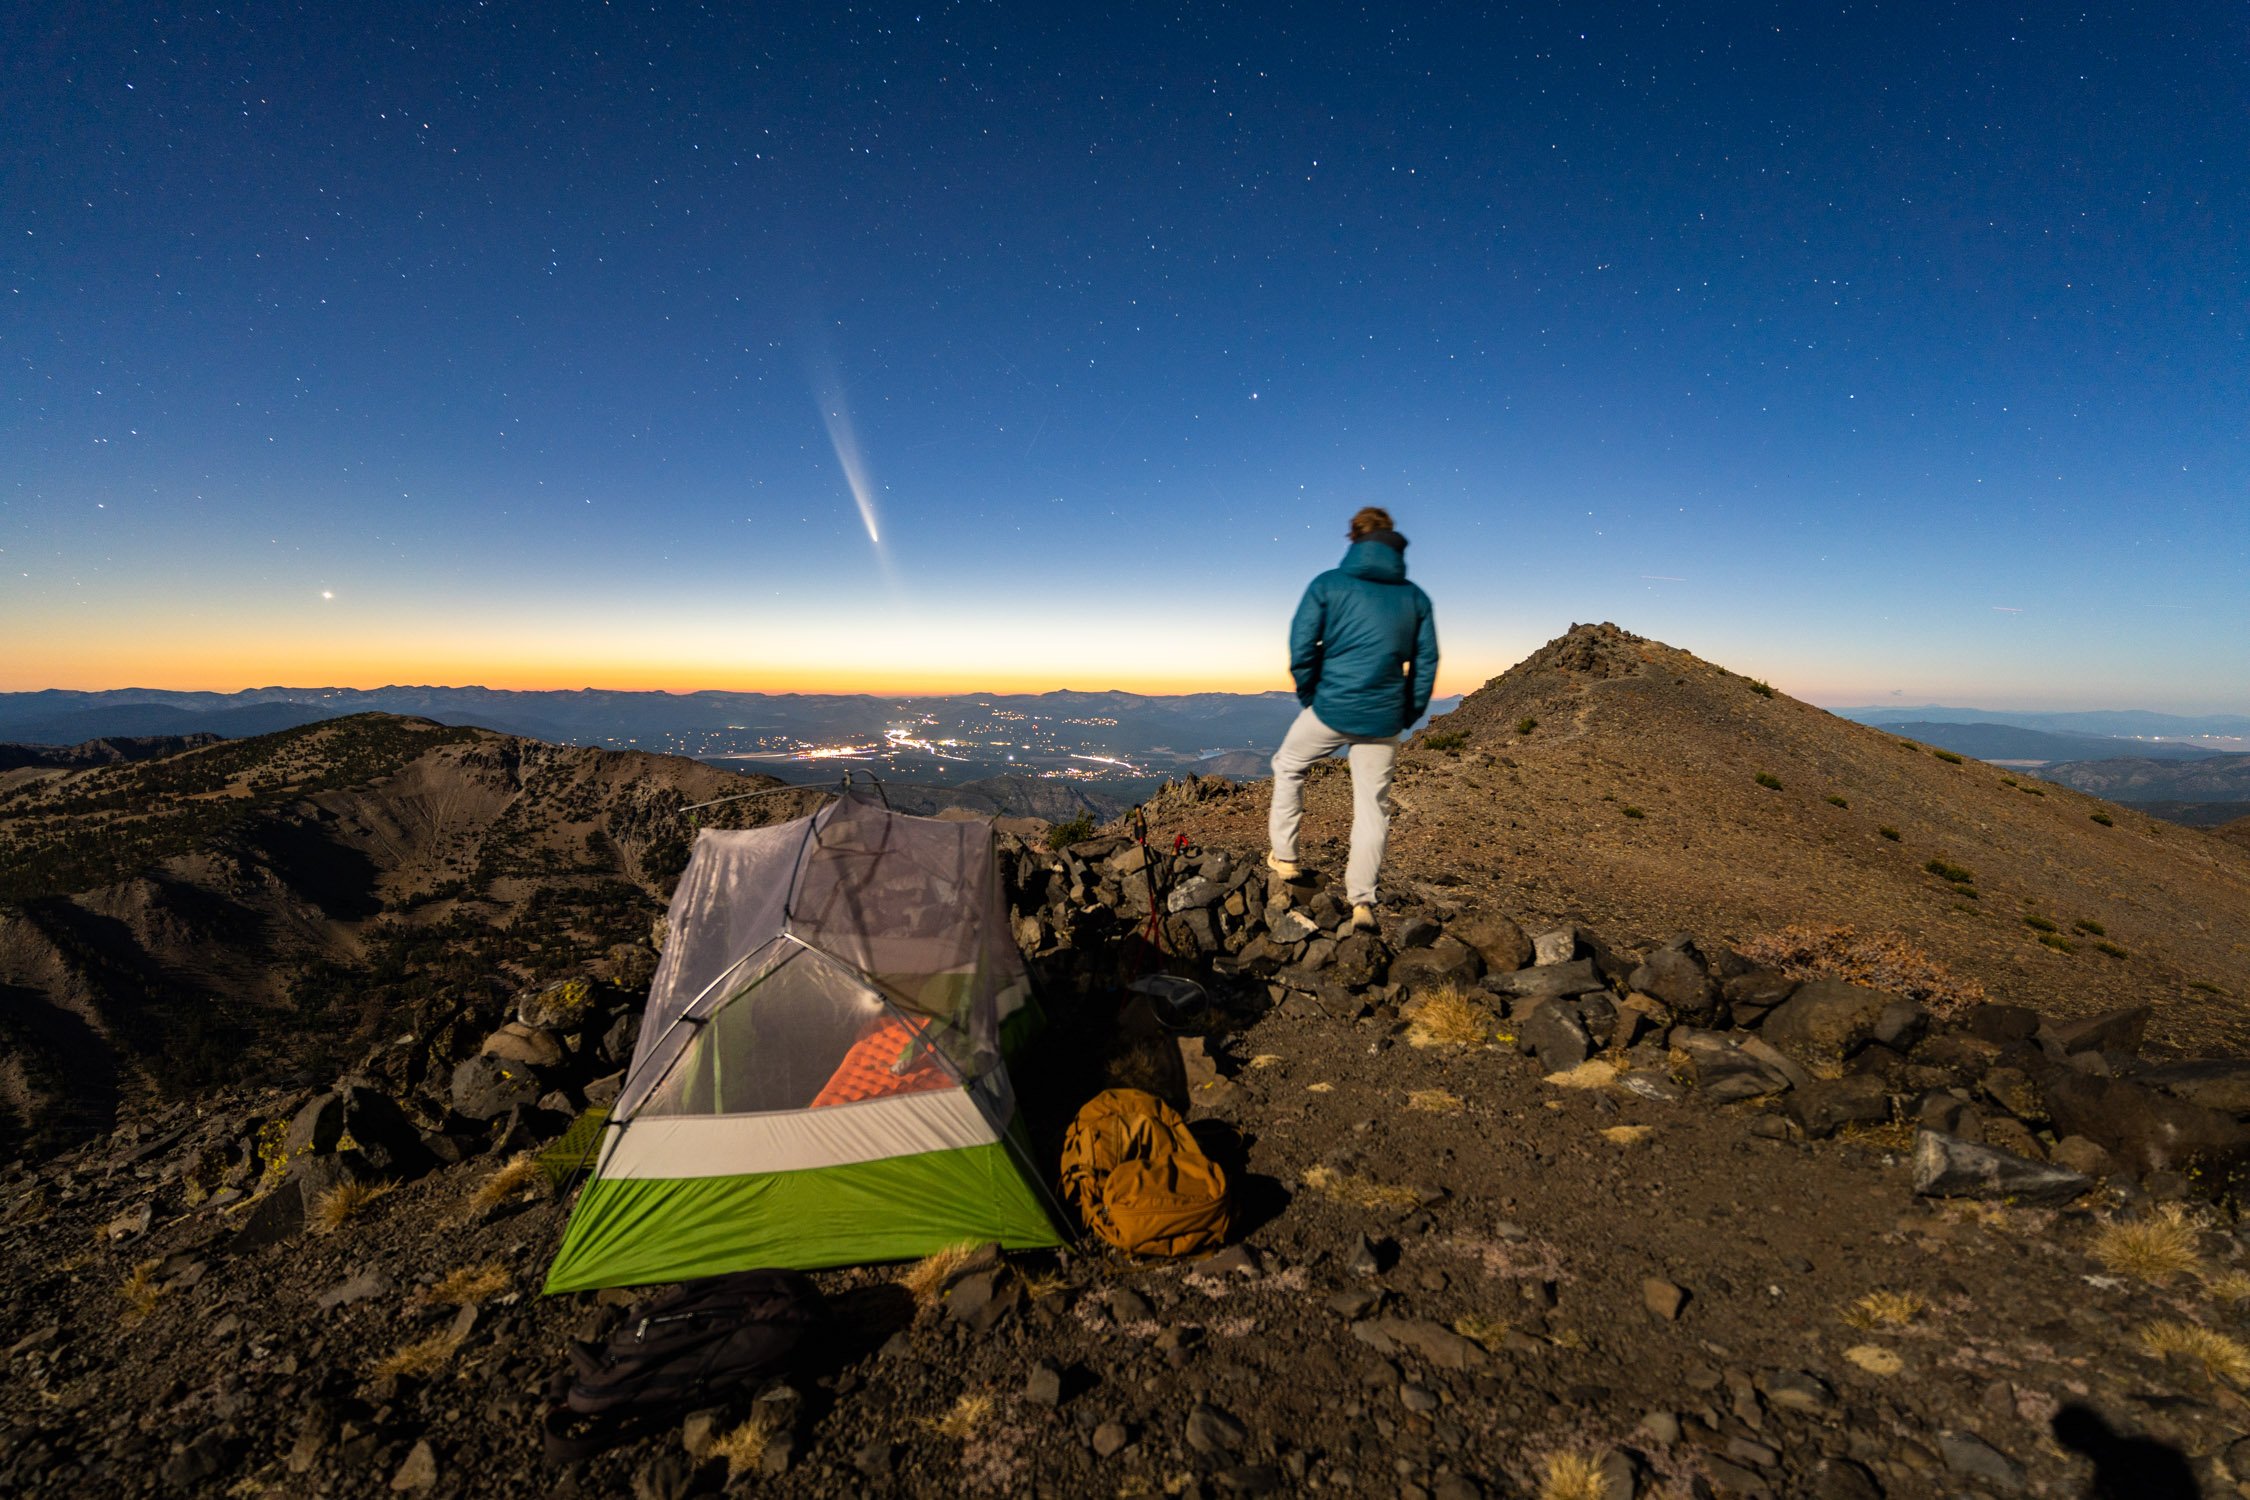
Camping under the stars is the best way to access the night sky. Photo by Dalton Johnson
1. Dress for the Weather
One of the easiest ways to ruin a stargazing night is not dressing warmly enough. You're not going to think straight if you are shivering. Even in the summer, nights can get chilly, especially in open areas like deserts or mountains. On my backpacking trips, layering up became second nature, often having my sleeping bag ready for extra warmth. Now, I always bring extra blankets and hand warmers when stargazing with friends or family, to make sure everyone is comfortable. It’s better to overprepare than to cut your night short because you’re too cold.
Pro Tip: A thermos of hot tea, hot chocolate, or coffee can make all the difference on those colder nights. Pair it with a comfortable chair and a cozy blanket for an even better experience.
2. Start with a Plan
When I first started stargazing, we relied on a simple night sky book to guide us. It was exciting but often frustrating when we couldn’t find what we were looking for. Now, I use apps like PhotoPills, which is a game-changer for photography. Its AR viewing feature helps me line up shots of the Milky Way at the exact time and location I want. Planning your night can save you frustration and make the experience more rewarding. Research celestial events, like meteor showers or eclipses, and use stargazing apps to identify constellations and planets in advance.
Tip: Create a small checklist of essentials—star maps, a flashlight with a red filter, binoculars, snacks, and a comfortable setup to ensure you have everything you need.
Taking in the Milky Way from the summit of Tallac in Lake Tahoe, CA. Photo by Dalton Johnson
3. Choose the Right Location
Light pollution is one of the biggest barriers to seeing the night sky clearly. If you can, visit a designated dark-sky area. Some of my favorites include Moab, Yosemite National Park, and spots across the American Southwest. These places offer incredible views that make the effort worth it. The fewer city lights, the more stars you’ll see.
Tip: Use a light pollution map online to find the darkest skies near you. Arrive before sunset to scout out a good spot and let your eyes adjust to the dark naturally.
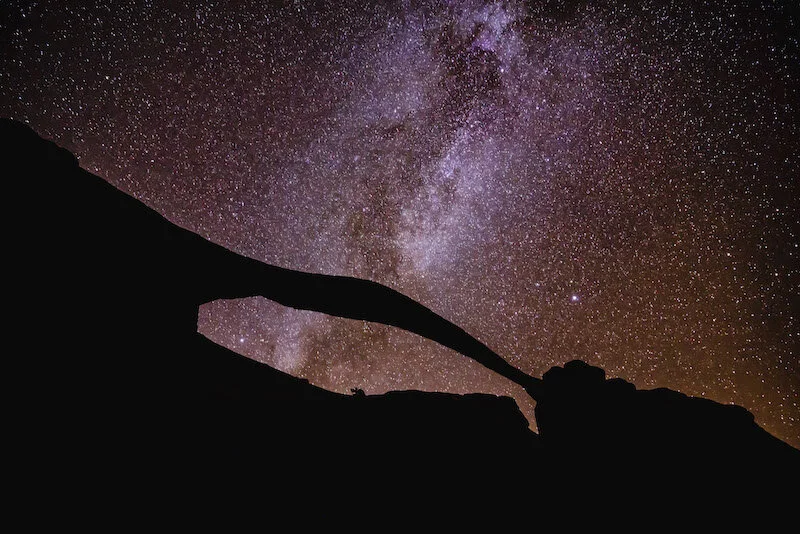
The Milky Way creeping our from behind Landscape Arch in Arches National Park. Photo by Dalton Johnson
4. Be Patient
One mistake I’ve seen time and again is impatience. Beginners often expect to find constellations or spot shooting stars right away. But stargazing is a slow process. It takes time for your eyes to adjust to the dark, and finding constellations requires practice. I’ve also learned to start with the easiest constellations first—Orion and the Big Dipper are great ones to begin with. Once you’ve mastered the basics, you can work on identifying more complex formations.
Tip: Don’t forget that constellations change with the seasons and your location. If a constellation isn’t visible, it’s not your fault—it’s just not the right time of year or hemisphere.
5. Bring the Right Gear
You don’t need an expensive telescope to start stargazing. For years, I used just my eyes and a pair of binoculars. Binoculars are a great starting point because they’re portable and can give you a closer view of the moon and larger celestial objects. As a photographer, I now rely on tools like PhotoPills and sturdy tripods for night photography. But even with advanced gear, basics like a blanket, folding chair, and bug spray can make or break the experience.
Tip: If you’re thinking of investing in gear, start with binoculars. They’re much easier to use than telescopes when you’re beginning and can open up a whole new level of detail in the night sky.
A Milky Way bow, which can be captured during Nov - April in North America. Photo by Dalton Johnson
6. Pick the Right Time
One mistake I made early on was stargazing during a full moon. A bright moon can wash out faint stars, making it harder to see constellations. Now, I always check the lunar calendar and aim for nights around the new moon. Meteor showers and special celestial events are also fantastic times to plan your outing. Timing is everything when it comes to stargazing—you’ll get the best results when the conditions are optimal.
Tip: If you’re planning to photograph the stars, timing is everything. Use apps to track the Milky Way’s position for the best results, and plan your night accordingly.
7. Learn the Basics First
I’ll admit, when I started, I got overwhelmed trying to find advanced constellations or identify faint stars. What I’ve learned is that stargazing is much more fun when you start with the basics. Learn to identify a handful of bright stars or constellations, and build from there. Don’t rush into complicated star charts—keep it simple and enjoy the process of discovery.
Tip: Apps like SkySafari and Star Walk are beginner-friendly and can guide you through the sky step by step. They’ll even show you which stars and planets are visible from your location and time.
The milky way over my van in the Alabama Hills of CA. Photo by Dalton Johnson
Stargazing is one of the simplest joys in life, but it does take a bit of preparation and patience to fully enjoy it. Whether you’re lying under the stars in a dark desert or snapping photos of the Milky Way, the key is to approach it with curiosity and an open mind. After all, the night sky is always full of surprises—if you know how to look. So grab a blanket, head to a quiet spot, and let the stars remind you of the beauty and vastness of our universe.


