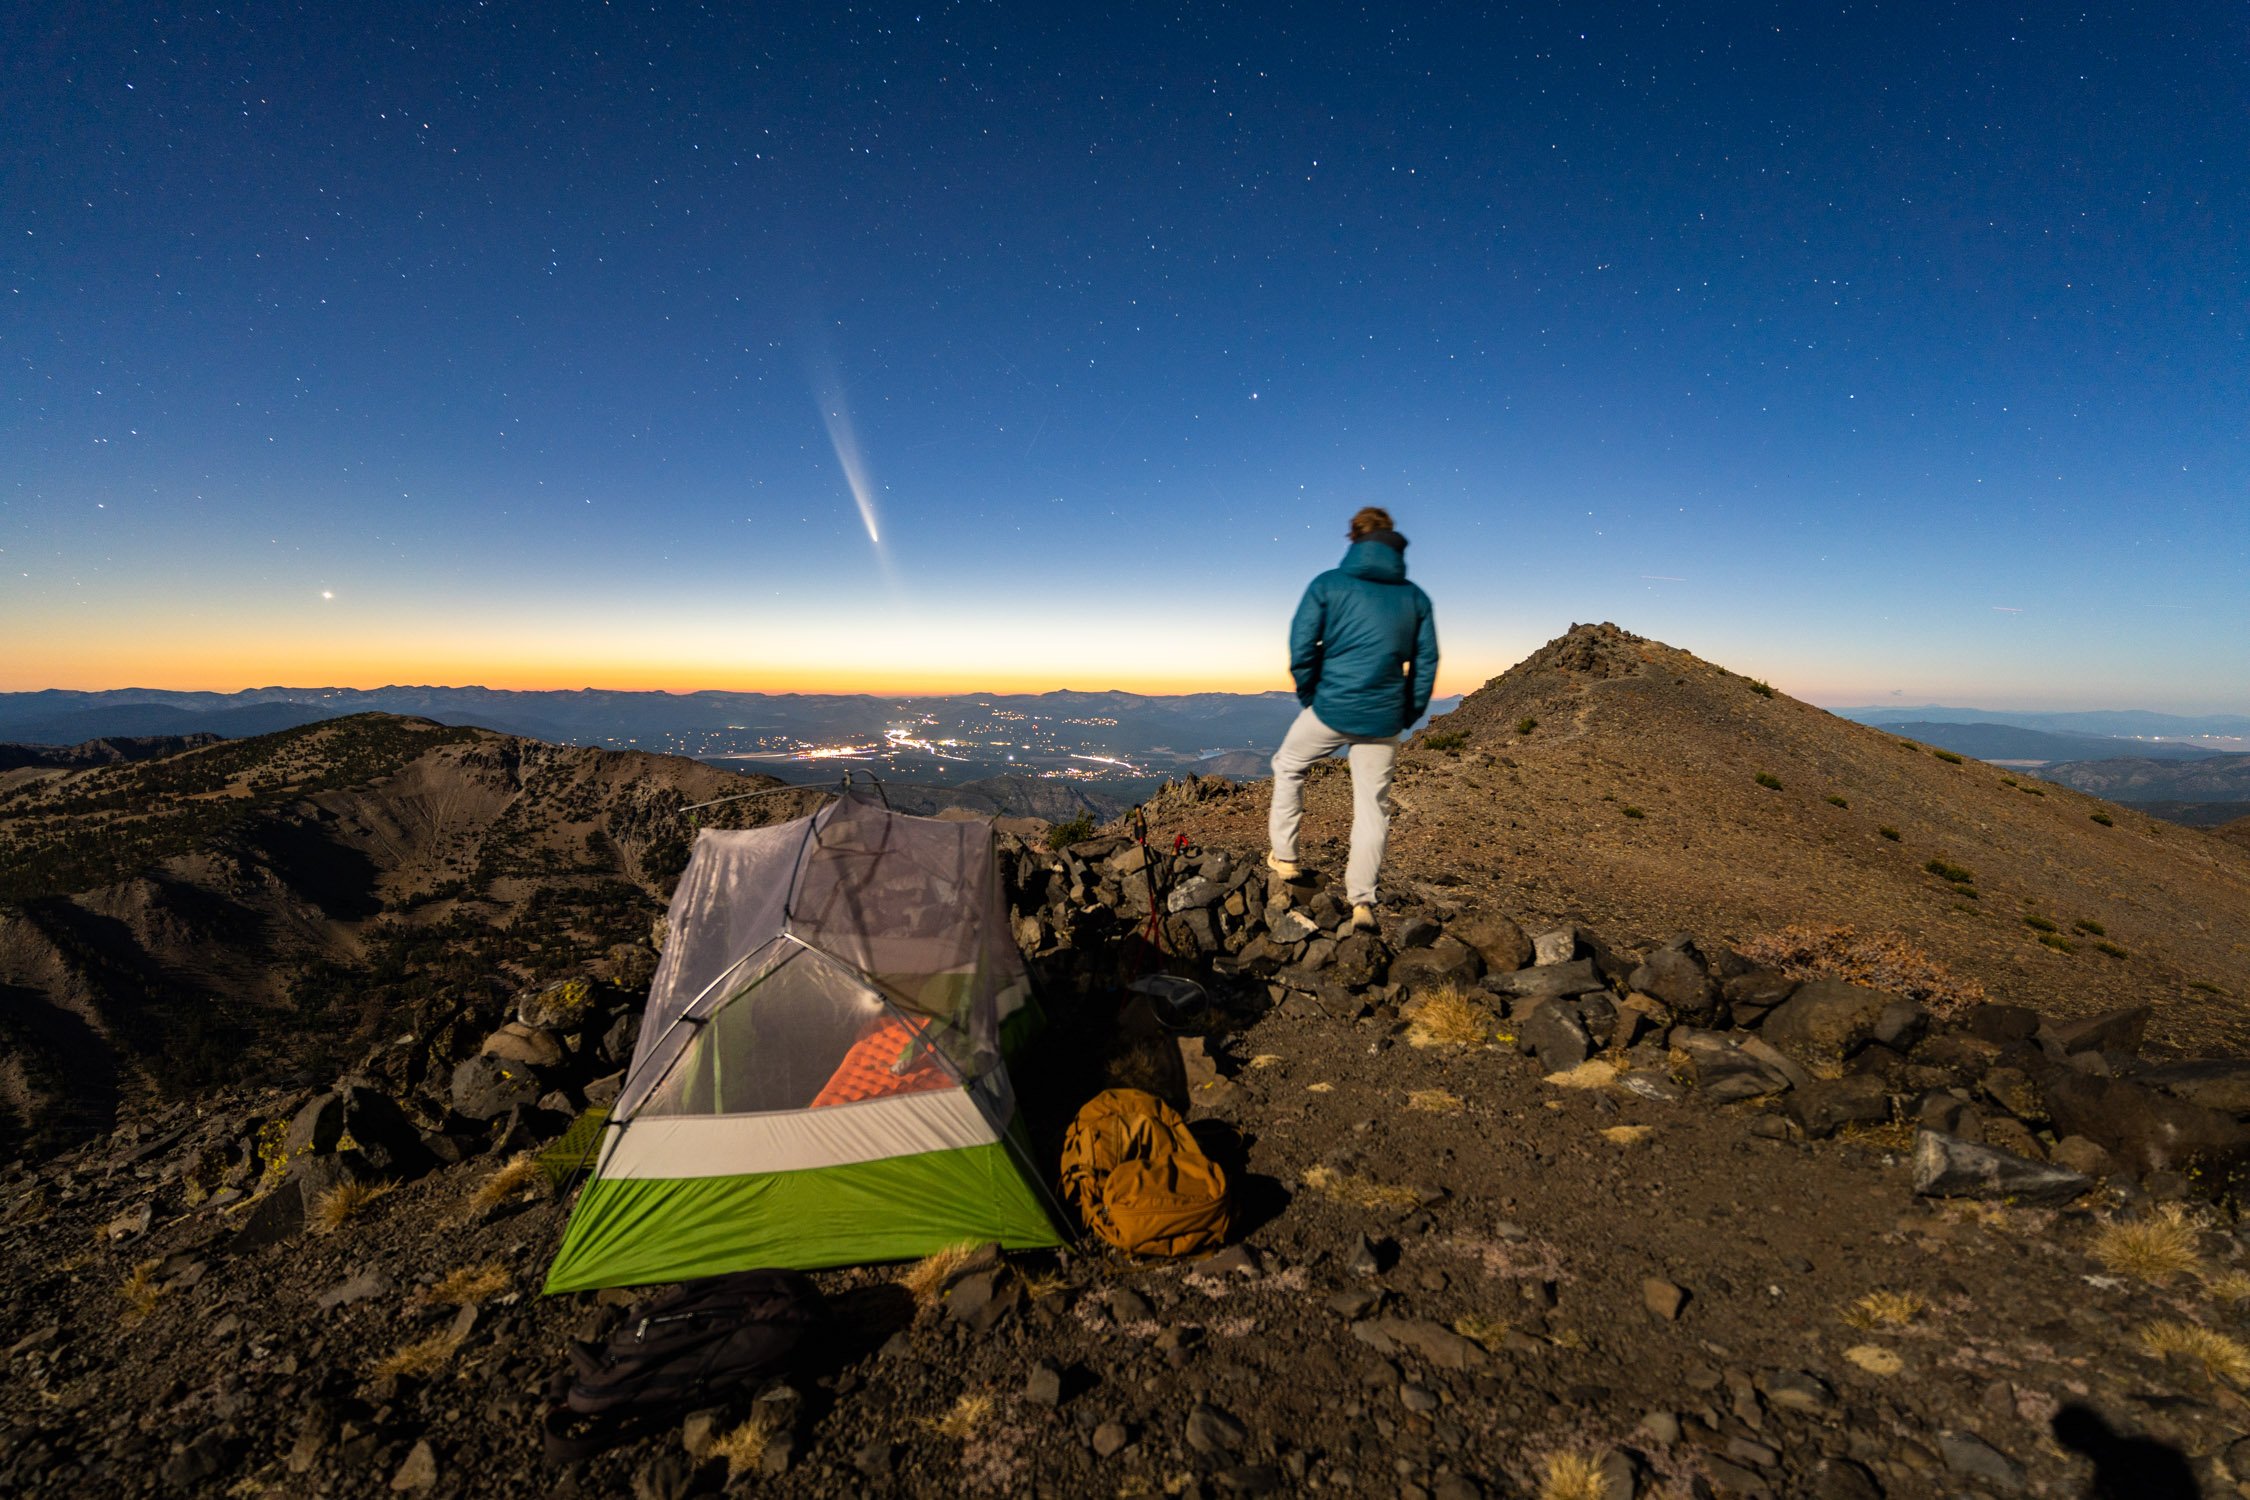
Have you ever seen a beautiful photograph with a stunning solar flare effect? Solar flare photography is a unique way to add some drama and magic to your photos. It's a technique that can be difficult to achieve but with some tips and tricks, it's possible to create this effect.
Creating the solar flare effect in a photograph is simple, turn your aperture between f/10 - f/22. While the settings are simple, the positioning and details to create a great solar flare photograph can be challenging.
In this blog, we'll share some helpful tips for creating the solar flare photography effect.
Pros:
Unique and visually striking: Solar flares can add a dramatic and eye-catching element to a photograph, making it stand out from others.
Adds emotion: Solar flares can evoke a sense of warmth, nostalgia, and hope, making the image more emotional.
Natural lighting: Photographing during golden hour when solar flares are more common can produce a beautiful, natural-looking effect without the need for artificial lighting.
Can hide imperfections: Solar flares can also hide or diminish unwanted elements in the frame, such as lens scratches or dust.
Cons:
Can be distracting: Solar flares can be overwhelming and distracting, taking away from the subject or message of the photograph.
Can be overused: The solar flare effect has become increasingly popular and overused in recent years, leading to an oversaturation of images with this effect.
Difficult to capture: Capturing a solar flare effect can be challenging, requiring the right equipment and skill to achieve the desired result.
Can look unnatural: If not done correctly, solar flares can look unnatural and gimmicky, taking away from the authenticity of the image.
Use the Right Equipment
The first step to creating a solar flare photography effect is to use the right equipment. A camera with a high-quality lens and manual mode (or aperture priority) is essential to capture the sun's rays and create the flare effect. My personal preference is to NOT use a filter as I feel these can mess up the solar flare.
Some Camera Gear Recommendations:
Camera body: The main component of your camera setup, choose a body that fits your needs and budget.
Lenses: Invest in high-quality lenses that will allow you to capture a variety of shots. Wide-angle, standard, and telephoto lenses are all useful to have.
Tripod: A sturdy tripod is essential for shooting in low light, long exposures, and for keeping your camera steady.
Memory cards: Ensure you have enough memory cards with sufficient capacity to store your images.
Camera bag: A bag to store and transport your camera and gear is a must-have.
Use Manual Settings
When capturing a solar flare effect, it's important to use manual settings, or aperture priority. Since this effect only occurs with an aperture between f10 to f/22, using the auto setting might not set your aperture correctly.
Additionally, shooting with manual, or back button autofocus, should be used. General autofocus can be inaccurate when capturing such a bright light source, so it's best to take control and focus manually. This way, you can ensure that your subject is in focus, and the flare effect is captured perfectly.
Positioning is Key
Positioning is crucial when trying to capture a solar flare effect. The best solar flares occur when half to a quarter of the sun is showing. So, this means you need o have some object cover most of the sun to create the best solar flare possible. It's important to find the perfect angle and position to capture the sun's rays at just the right moment. This can take some trial and error, so be patient and keep trying until you find the perfect position.
Pro Tip: The edge of shadows are the easiest place to create a solar flare.


Experiment with Exposure
Exposure is another critical element to consider when creating a solar flare effect. It's best to start with a low exposure and gradually increase it until you achieve the desired effect. However, be careful not to overexpose the image, as this can result in loss of detail, especially in the sky.
Pro Tip: Using your light meter, aim for -0.3
Shoot During Golden Hour
The golden hour is the perfect time to capture a solar flare effect because the sun is on the horizon, blocking the half the sun, giving a half star. Additionally, this is the hour after sunrise or before sunset when the light is soft and warm, which draws people to an image. Lastly, shooting during this time can create a beautiful, natural-looking solar flare effect.
Note: Even though the best time of day to shoot a solar flare is around golden hour, you can create this effect at anytime of the day.
Edit in Post-Production
Post-production editing is a crucial step in creating a solar flare effect. You can use editing software to enhance the flare effect and make it stand out more. Adjusting the contrast and saturation can make the effect more prominent, while adjusting the colors can create a unique look. If you are editing in Adobe Lightroom, the “dehaze” tool is very effective at making your solar flare POP!
Using a solar flare to draw your eye to the people siting on the cliff. Photograph by Dalton Johnson
Creating a solar flare photography effect can be challenging, but with the right tips and tricks, it's possible to achieve stunning results. Use the right equipment, experiment with positioning and exposure, shoot during golden hour, and edit in post-production to create a beautiful solar flare effect in your photographs. Remember to be patient, and keep trying until you find the perfect shot. Good luck!